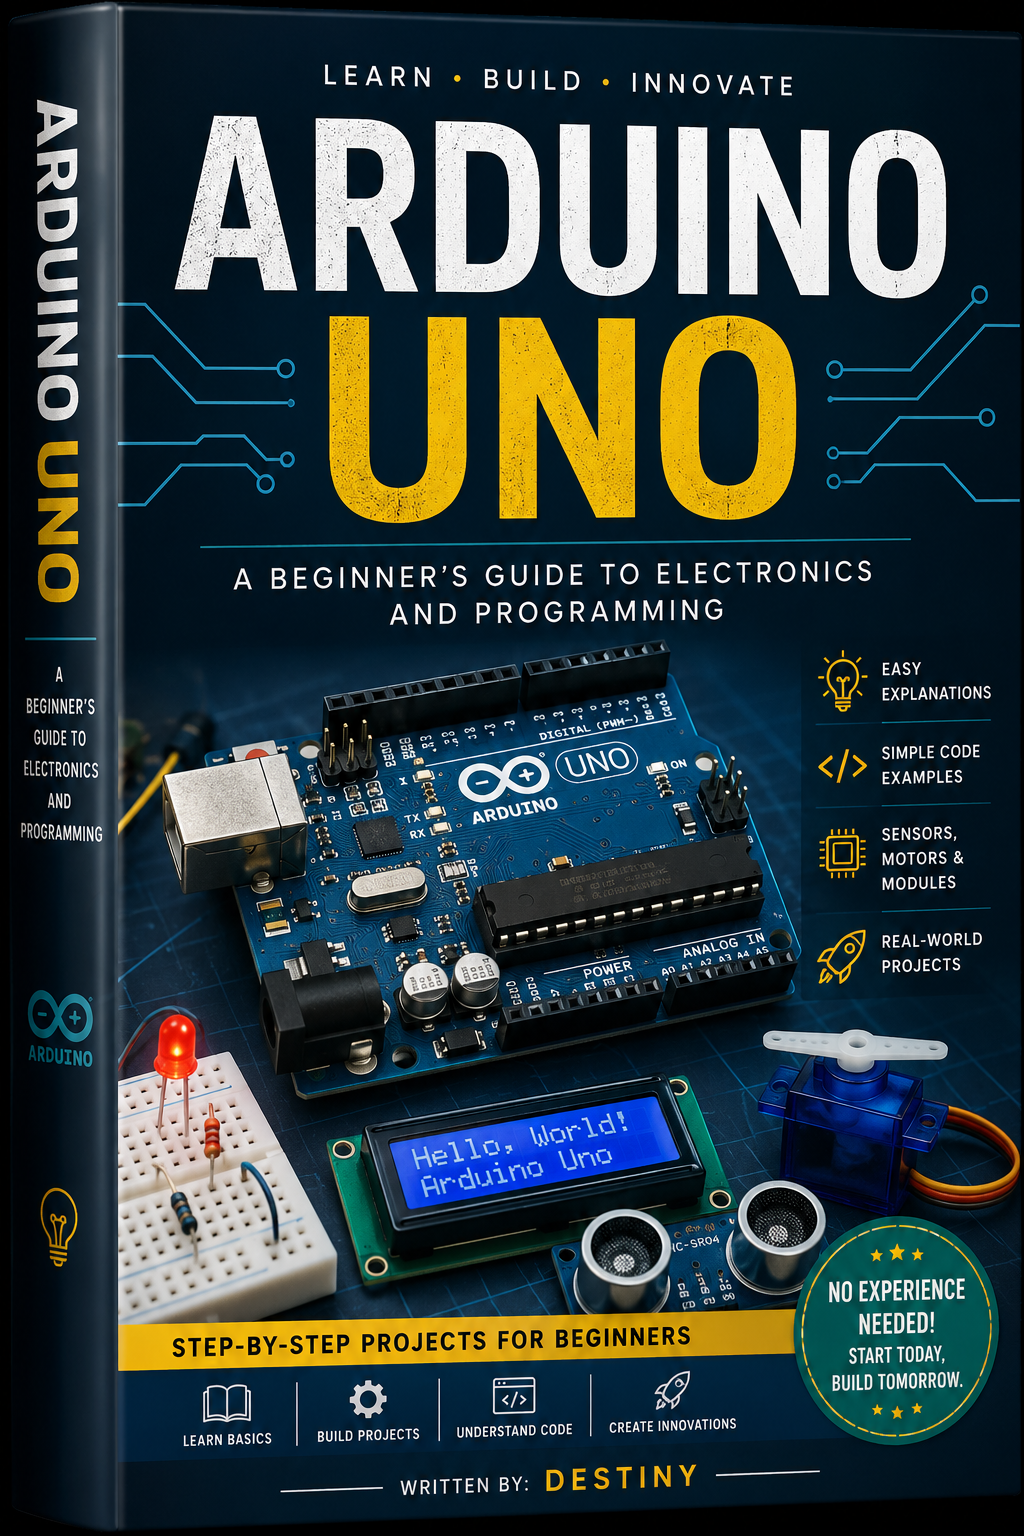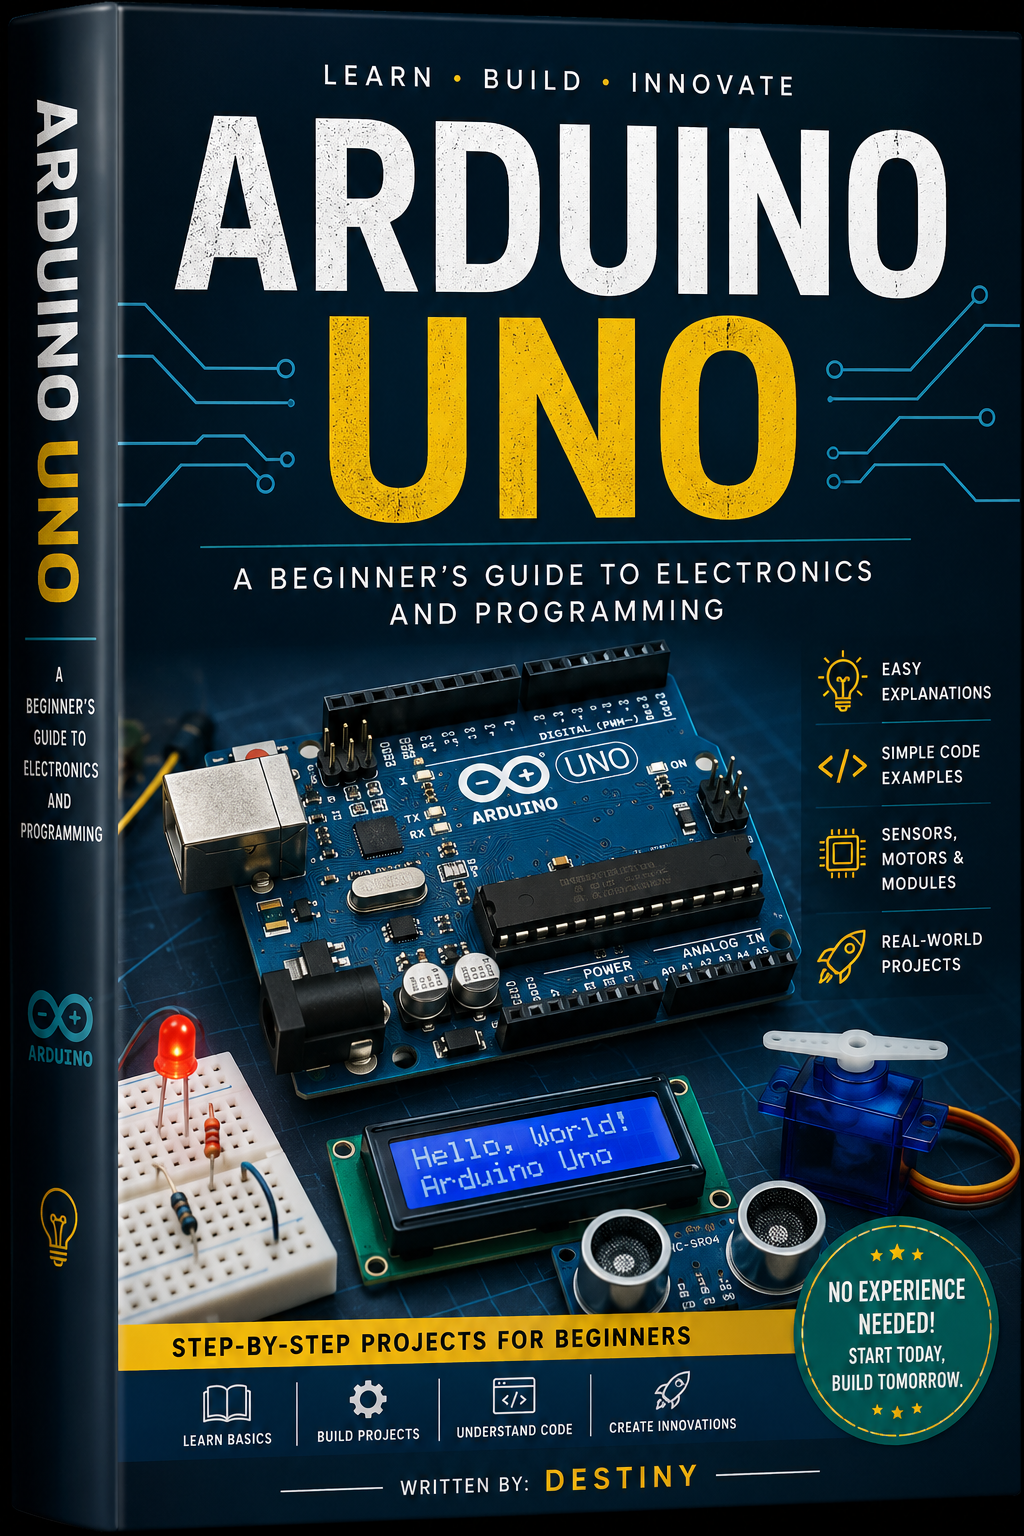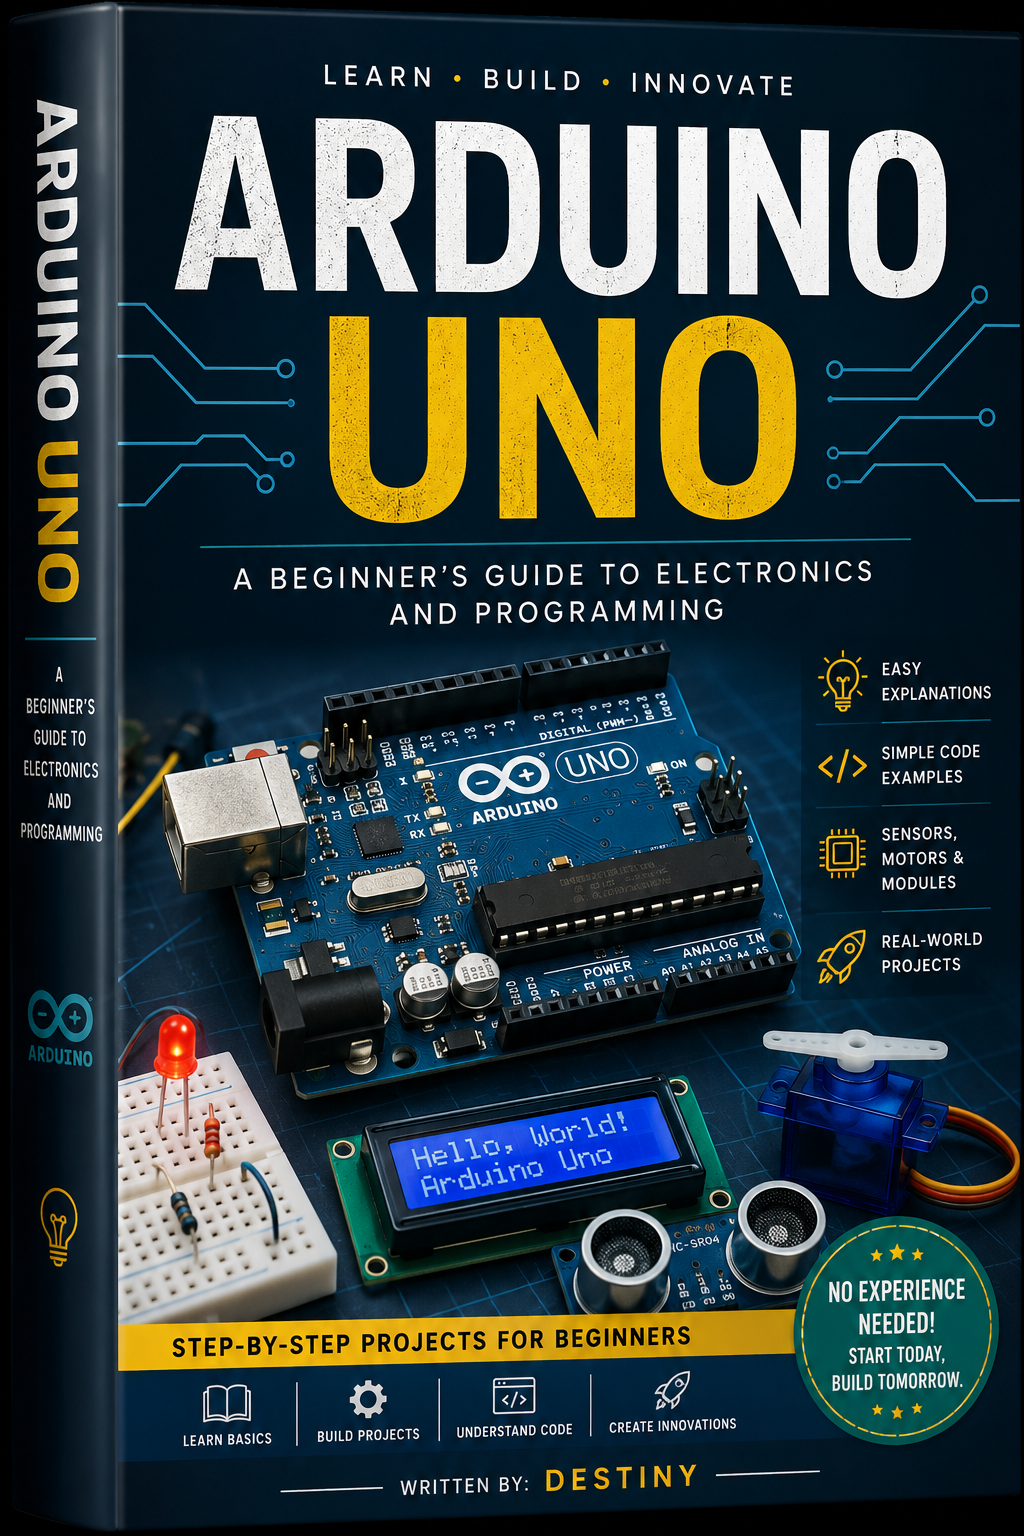
Arduino Uno: A Beginner's Guide to Electronics and Programming
Learn Electronics, Coding, Sensors, and Projects with Arduino Uno
Written by: Robot
Introduction
The Arduino Uno is one of the most popular beginner-friendly electronics boards in the world. It allows you to turn ideas into working electronic projects by combining simple hardware with computer programming.
With an Arduino Uno, you can build projects involving LEDs, buttons, sensors, motors, displays, alarms, and many other components.
This book introduces the Arduino Uno from the beginning and gradually takes you toward building your own projects.
Table of Contents
- What Is Arduino Uno?
- Understanding the Arduino Uno Board
- Setting Up Arduino
- Your First Arduino Program
- Understanding Arduino Code
- LEDs and Digital Outputs
- Buttons and Digital Inputs
- Sensors and Analog Inputs
- Using Motors and Buzzers
- Displays and Communication
- Building Your First Projects
- Troubleshooting Arduino Projects
- Taking Your Arduino Skills Further
Chapter 1: What Is Arduino Uno?
Arduino Uno is a programmable microcontroller development board.
A microcontroller is a small computer that can receive information from the outside world and control electronic components.
For example, an Arduino can:
- Read a button
- Measure a sensor
- Turn an LED on or off
- Control a motor
- Display information
- Produce sounds
The Arduino Uno is popular because it is relatively simple to learn and has a large community of users.
Chapter 2: Understanding the Arduino Uno Board
The Arduino Uno contains several important parts.
USB Port
The USB connection allows you to connect the board to a computer. You can use it to upload programs and communicate with the Arduino.
Digital Pins
Digital pins can generally be used to read or output two basic states:
- HIGH
- LOW
They are useful for LEDs, buttons, and many digital components.
Analog Inputs
Analog input pins allow the Arduino to measure changing electrical signals from compatible sensors.
Power Connections
The board provides power connections that can be used with suitable electronic components.
Microcontroller
The microcontroller is the main processor that runs your program.
Chapter 3: Setting Up Arduino
To begin working with an Arduino Uno, you generally need:
- An Arduino Uno board
- A USB cable
- A computer
- Arduino IDE software
- Suitable electronic components for your project
Install the Arduino software on your computer and connect the board using USB.
Once connected, select the appropriate board and port in the software.
Chapter 4: Your First Arduino Program
One of the classic first Arduino projects is making an LED blink.
A simple Arduino program looks like this:
void setup() {
pinMode(LED_BUILTIN, OUTPUT);
}
void loop() {
digitalWrite(LED_BUILTIN, HIGH);
delay(1000);
digitalWrite(LED_BUILTIN, LOW);
delay(1000);
}
This program repeatedly turns the built-in LED on and off.
The setup() function runs when the Arduino starts.
The loop() function then runs repeatedly.
Chapter 5: Understanding Arduino Code
Arduino programs are commonly written using C/C++ syntax.
Some important commands include:
pinMode()
Defines whether a pin is an input or output.
digitalWrite()
Sets a digital output HIGH or LOW.
digitalRead()
Reads a digital input.
analogRead()
Reads an analog input.
delay()
Pauses the program for a specified amount of time.
Learning these basic commands gives you a strong foundation for Arduino programming.
Chapter 6: LEDs and Digital Outputs
LEDs are excellent components for learning about digital outputs.
An LED can represent information visually.
For example:
- LED on = system active
- LED off = system inactive
You can also create patterns by controlling multiple LEDs.
A traffic-light project could use several LEDs to represent red, yellow, and green signals.
Chapter 7: Buttons and Digital Inputs
Buttons allow a person to send an input to the Arduino.
For example, pressing a button could cause an LED to turn on.
The basic idea is:
Button → Arduino → LED
The Arduino reads the button's state and decides what action to perform.
This teaches an important programming concept: input and output.
Chapter 8: Sensors and Analog Inputs
Sensors allow Arduino projects to interact with the environment.
Depending on the sensor, an Arduino can detect things such as:
- Light
- Temperature
- Distance
- Motion
- Sound
A light sensor, for example, can provide a changing value depending on how much light is detected.
The Arduino can then use that information to make a decision.
Chapter 9: Motors and Buzzers
Arduino can also control suitable motors and buzzers when connected through appropriate electronic circuits.
A buzzer can provide sound alerts.
For example:
Sensor detects something → Arduino processes the information → buzzer produces an alert
Motors can be used in projects involving movement, such as small robots.
When working with motors, it is important to use suitable driver circuits rather than attempting to power larger motors directly from an Arduino pin.
Chapter 10: Displays and Communication
Displays can make Arduino projects much more informative.
A display could show:
- Temperature readings
- Counter values
- Messages
- Sensor information
Arduino can also communicate with other devices using communication technologies supported by the board and connected hardware.
This opens the door to more advanced projects.
Chapter 11: Building Your First Projects
Once you understand the basics, you can start combining components.
Project 1: Automatic Night Light
A light sensor detects darkness.
The Arduino then turns on an LED.
Basic concept:
Light sensor → Arduino → LED
Project 2: Electronic Doorbell
A button acts as the input.
When pressed, the Arduino activates a buzzer.
Button → Arduino → Buzzer
Project 3: Temperature Monitor
A suitable temperature sensor provides a reading.
The Arduino processes the reading and displays or communicates the result.
Temperature sensor → Arduino → Display
Chapter 12: Troubleshooting Arduino Projects
Not every project will work on the first attempt.
Common problems include:
The Program Does Not Upload
Check:
- USB connection
- Selected board
- Selected port
- Arduino software settings
The LED Does Not Work
Check:
- Wiring
- LED orientation
- Resistor
- Program logic
Sensor Gives Unexpected Results
Check:
- Connections
- Power requirements
- Sensor documentation
- Program calculations
Troubleshooting is an important part of learning electronics.
Chapter 13: Taking Your Arduino Skills Further
Once you understand the fundamentals, you can explore more advanced areas.
You can learn about:
- Robotics
- Home automation
- Data logging
- Displays
- Wireless communication
- IoT projects
- Advanced sensors
- Servo motors
- Multiple-device communication
The most effective way to improve is to build projects regularly.
Start with something simple, understand why it works, and then modify it.
Final Thoughts
Arduino Uno is more than an electronic board. It is a tool for learning how hardware and software work together.
You do not need to know everything before beginning.
Start with an LED.
Then try a button.
Then add a sensor.
Eventually, you can combine everything into larger projects.
The most important lesson is to experiment, make mistakes, troubleshoot, and keep learning.
Your first Arduino project may be small, but it could be the beginning of a much bigger journey into programming, electronics, engineering, and robotics.